| TAKING IT APART |
|
I did not intend to take the engine out of the frame, nor to rebuild the entire bike. It was
one of those spur of the moment things.
|
| TEAR DOWN |
|
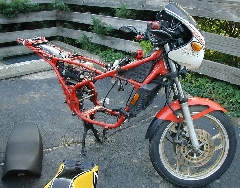
My girlfriend is watching me clean the bike, she goes down to the apartment to get us drinks and when she
comes back this is what she sees!
|
| ALL APART NO TURNING BACK |
|
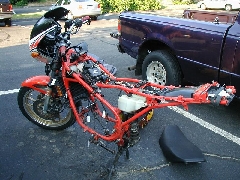
I had just purchased the yellow tank to replace mine that had several hundred pin holes in it!! That
was my second tank already too--happens to most at one time or another.
|
|
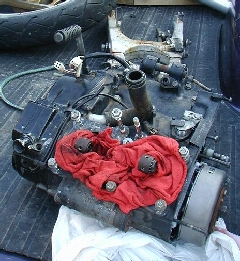
| ENGINES OUT--CYLINDERS OFF |
|
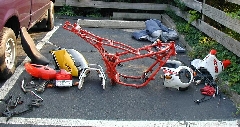
She needs a top end rebuild, a serious paint-job, and before any of that, it is dirty as hell!!
|
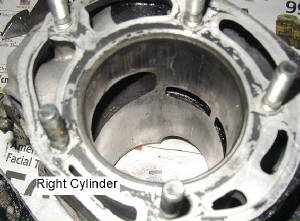
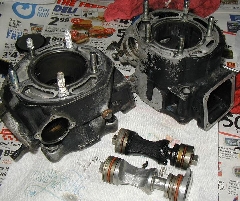
| CYLINDERS NEED SOME ATTENTION |
|
Cylinders before they went out to get bored--have pics of them after bore that I will eventually find and
put on here--before paint too obviously.
|
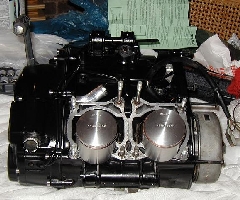
| FRESH PAINT AND NEW PISTONS |
|
All cleaned up and painted. Pistons are on and ready for cylinders. Actually found some rubber
grommets buried in dirt when I cleaned the case up--it was a mess. Pulled the original clutch out of it too and replaced
with a new one--GET NAME LATER!!
|
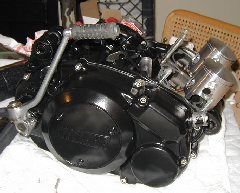
| SIDE VIEW OF PAINT AND PISTON INSTALL |
|
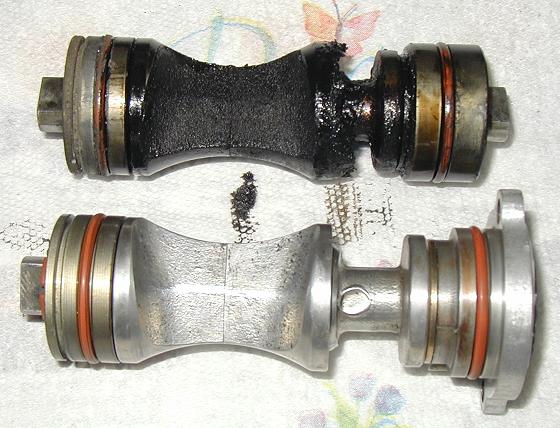
I did not get any pics of the clutch replacement--still had complete original assembly in there to include
the rubber o-rings. It still worked fine, but it was another part I figured I would replace while I had it all out.
|
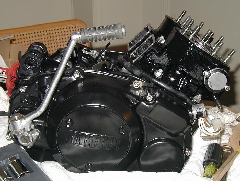
| CYLINDERS PAINTED AND BACK ON |
|
Heads slid on no problems and power-valves went in without any issues either. Used SS screws on the
power-valve coupler so that maybe it wouldnt give me such a hard time on the next rebuild.
|
| DIFFERENT ANGLE OF CYLINDERS ON--READY FOR HEAD |
|
Ready for the heads. I hated that I had to do this because when I took the head bolts off initially
I had to pry the head off, and it let out a noise like I was opening a soda bottle--I would have liked to leave it alone with
that kind of seal after 20 years!!
|
|
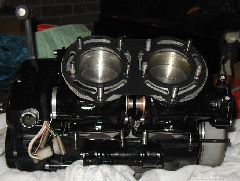
| HEADS ON--CARBS ON FOR PICS SAKE |
|
Got it pretty much all together. Carbs are in place just to get some pics... still not ready with
the rest of the bike to put it all back together.
|
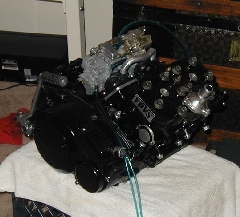
| LOOKING GOOD |
|
Stripped the paint off the thermostat housing and the kickstarter--I like the contrast of the black and
silver. I also installed a SS bolt set on all the covers. Nice allen head stuff I got off of ebay--let someone
else do the work and find the proper sizes!
|
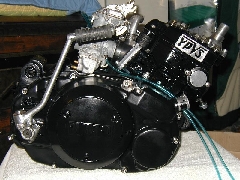
| FINAL ASSEMBLY COMPLETE--NOW THE REST OF THE BIKE |

|
I have since purchased a boost bottle to throw on there. I dont plan on doing it for the initial startup
though--dont want to change too much before it runs again. I'll get it running again then start to make changes gradually
so I dont completely loose the tune that I had before the rebuild.
|